Know Your Camera Before the Wildlife Appears
Every wildlife photographer knows this moment. An animal steps out, the light is beautiful, and by the time you have found the right setting it has walked away. It is frustrating, and it can be avoided. On a photography safari in Africa it is one of the most common problems I see, and it has little to do with how expensive your camera is. It has to do with knowing your camera well enough to use it without thinking.
Owning a camera is not the same as knowing it
Many photographers learn just enough to take a picture and then stop. They know how to press the shutter, but not how to change settings quickly when the light changes. Knowing your camera means finding aperture, shutter speed, ISO, playback, focus modes and your custom menu without looking, so your hands go there before you have decided. That is muscle memory. Nobody is born with it. You build it by handling the camera, changing settings, making mistakes and trying again.
Why it matters on safari
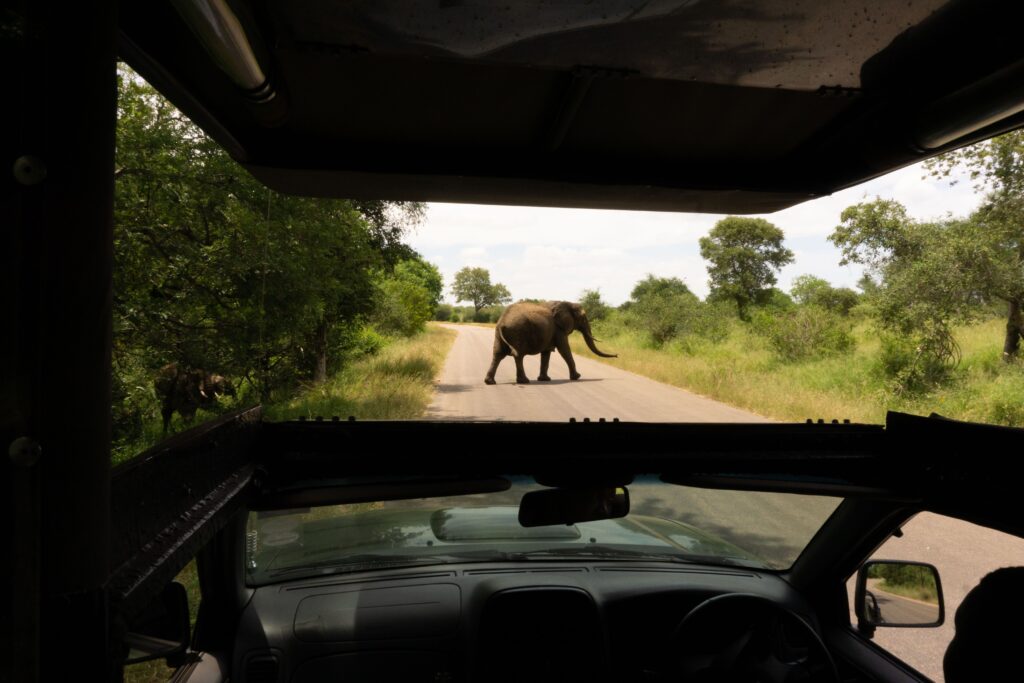
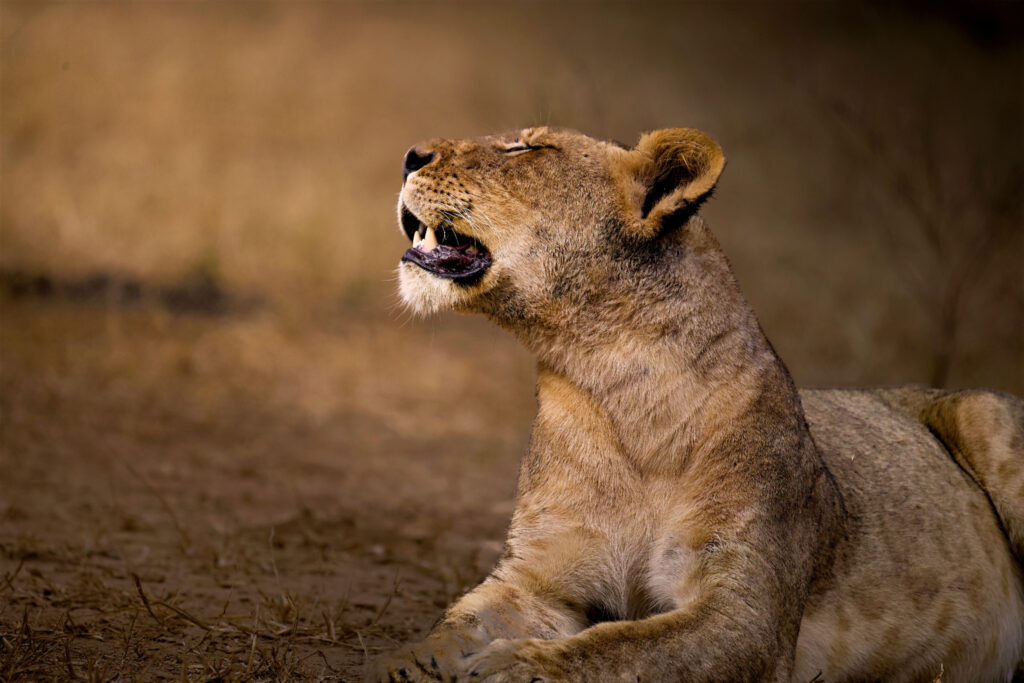
Wildlife rarely gives you time to think. A cheetah starts to move, elephants change direction, a lioness lifts her head out of the grass, and clouds can change the light within seconds. If you are searching through menus, you are not watching the animal, and if you are not sure which dial controls shutter speed, you may miss the very moment you came for. I want the camera to feel like part of your hands, so that your attention stays with the animals and the landscape.
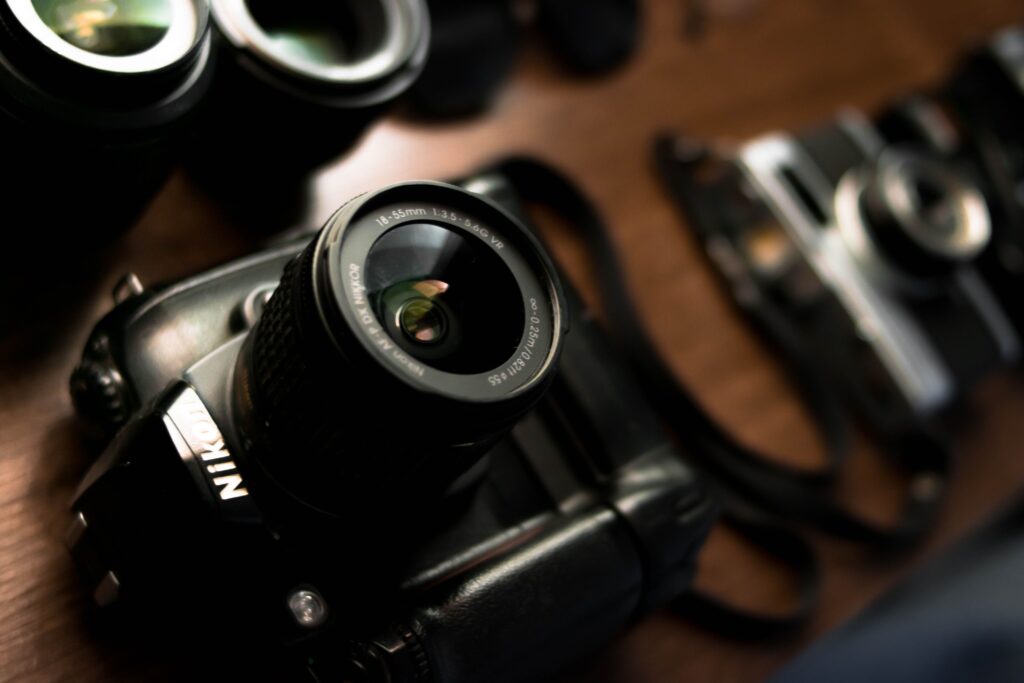
Know your dials
Shutter speed controls how movement looks: a fast one freezes a running animal, a slower one shows motion. Aperture controls depth of field, and a wide aperture softens the background so your subject stands out. ISO is your camera’s sensitivity to light, and a higher ISO helps in early mornings, late afternoons and shade. Every camera is laid out differently. Some have separate dials for shutter speed and aperture, others need a button press first, and some lenses have an aperture ring while others don’t. Learn your own combination of camera and lens, and practise at home until it feels natural.
Learn your menus before you travel
Most cameras let you build a custom or quick-access menu for the settings you use most, such as ISO, autofocus mode, burst shooting, white balance and image review. Do this before the safari, so you are not scrolling through menu pages while the light is changing.
A few minutes of preparation at home can make a real difference in the field.If you’re uncertain or don’t understand it, that’s what I am here for. Don’t worry, we’ll get it sorted out.
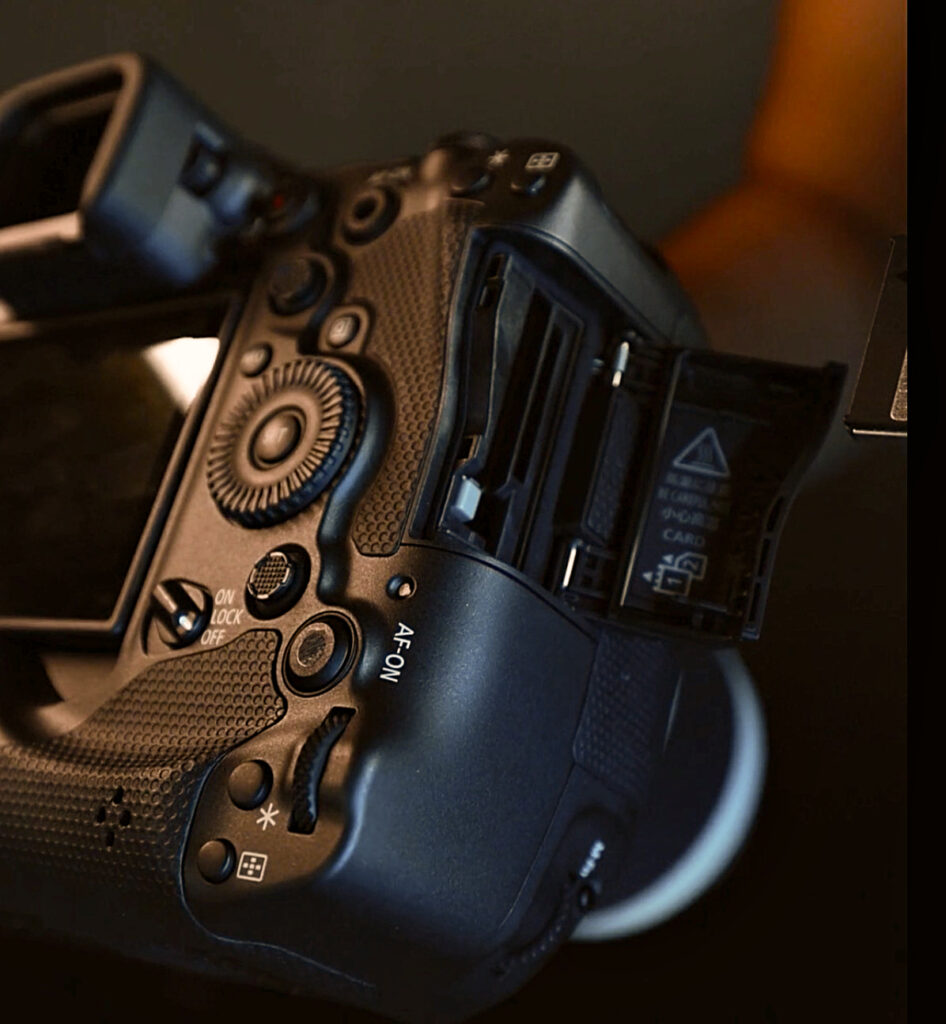
Check your exposure with the histogram
The picture on the back of your camera can mislead you, because a bright screen can make an underexposed photo look fine. The histogram is more honest. If the graph is pushed to the left, the image may be underexposed, and if it is pushed to the right, it may be overexposed. Find out how to show it in playback and whether your camera can show a live histogram in the viewfinder or on the rear screen, then practise checking it until it becomes automatic. If any of this is unclear, that is what I am there for, and we will get it sorted out together.
Two camera bodies for safari photography
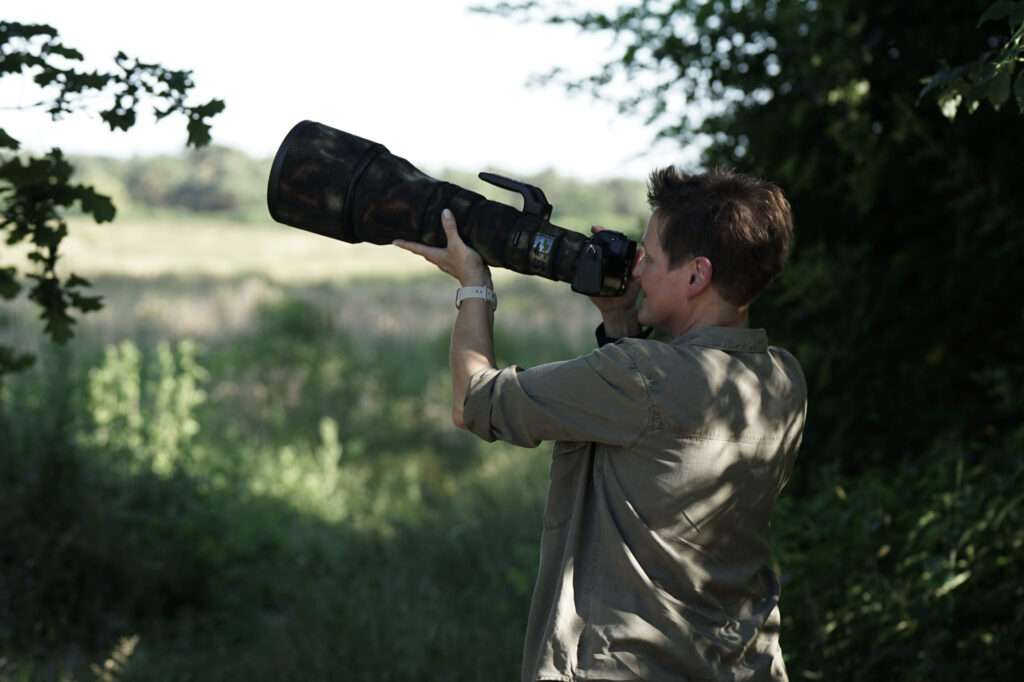
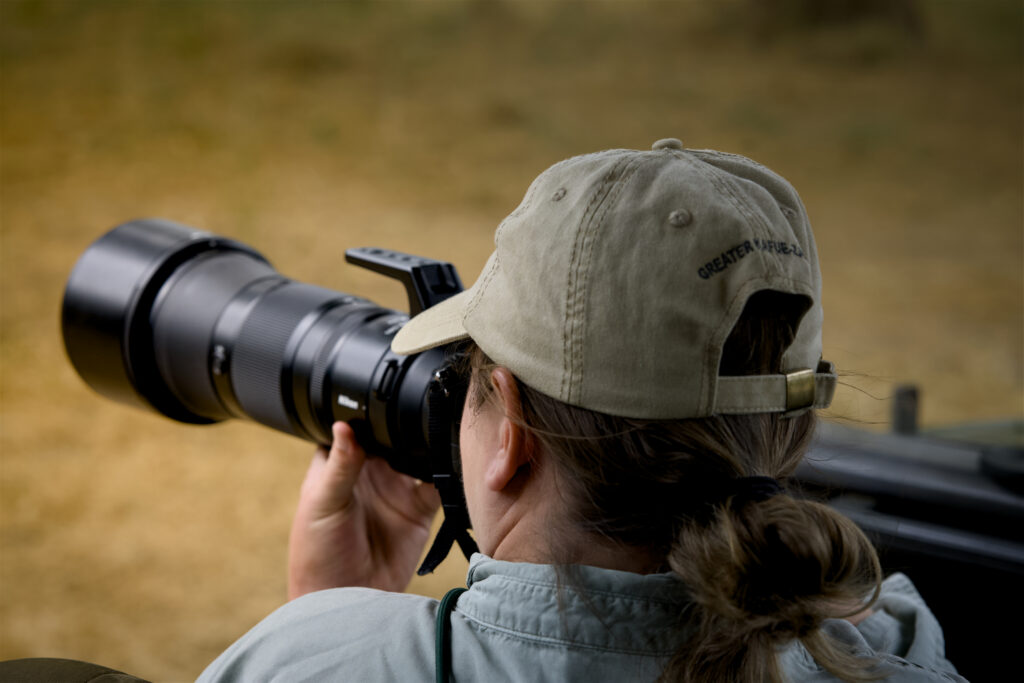
On safari I recommend two camera bodies if you can. Open vehicles are dusty, and changing lenses while animals are moving is rarely practical. Dust can reach the sensor, and the moment is gone by the time you have swapped. I put a long lens (100–400mm, 200–500mm or longer) on the main body and a shorter zoom on the second, and I keep both within reach on game drives. When an animal comes close to the vehicle, you simply pick up the other camera.
Use a beanbag for steadier images
A beanbag is one of the most useful pieces of safari photography equipment. Resting your lens on it on the window ledge, door frame or rail steadies a long lens, cuts camera shake and makes long drives more comfortable. It also does the job of a tripod in a vehicle where there is no room for one. My other tip costs almost nothing: cut a length of hollow pool noodle and slip it over the window or rail. It makes a soft rest for the lens, reduces vibration and protects your equipment, and it takes up almost no space in your bag.
Practise before your safari
Don’t wait until you are in Africa. This evening, pick up your camera and, without turning on a light, find shutter speed, aperture, ISO, playback, histogram, autofocus settings and your custom menu. Keep changing settings until your hands know what to do. The more familiar the camera feels, the more present you can be with the animals.
The best camera is the one you know
You don’t need the newest camera, only a good knowledge of the one you own. On my women-only photography safaris we work on exactly that: understanding your settings, reading the light, anticipating what the animals will do, and giving yourself permission to practise.
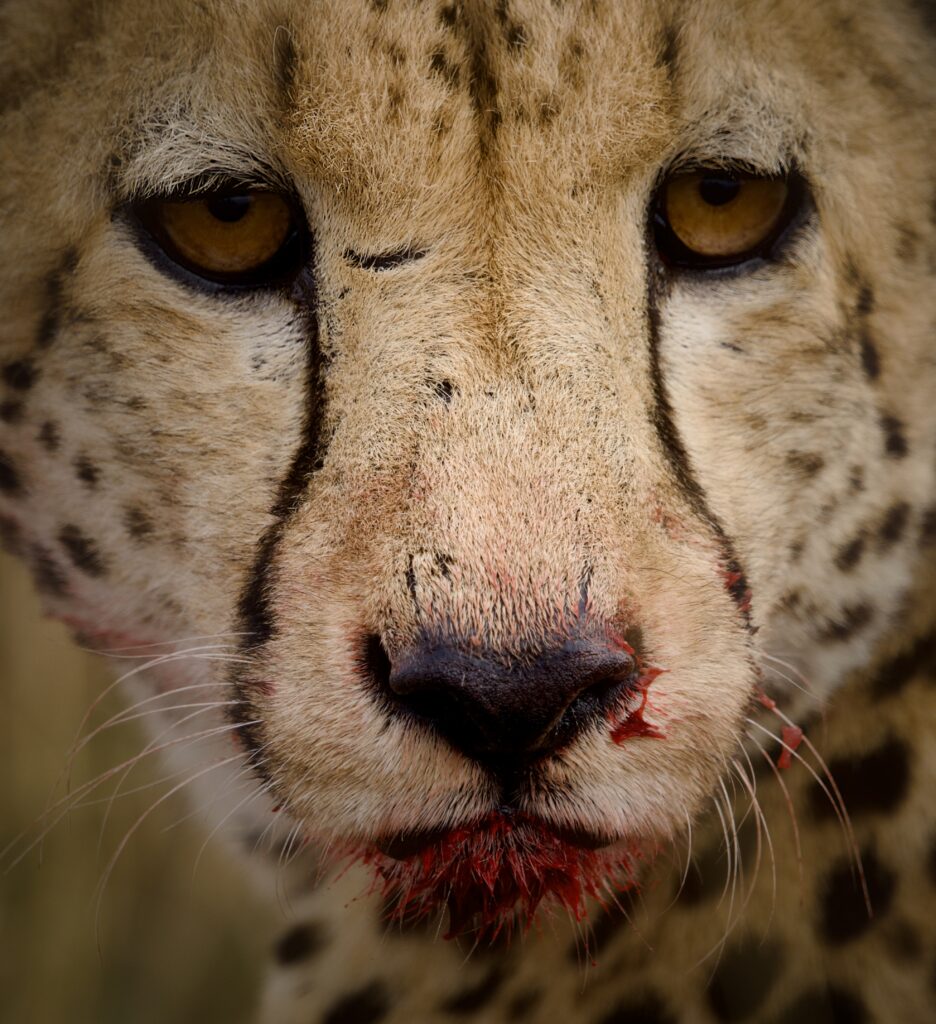
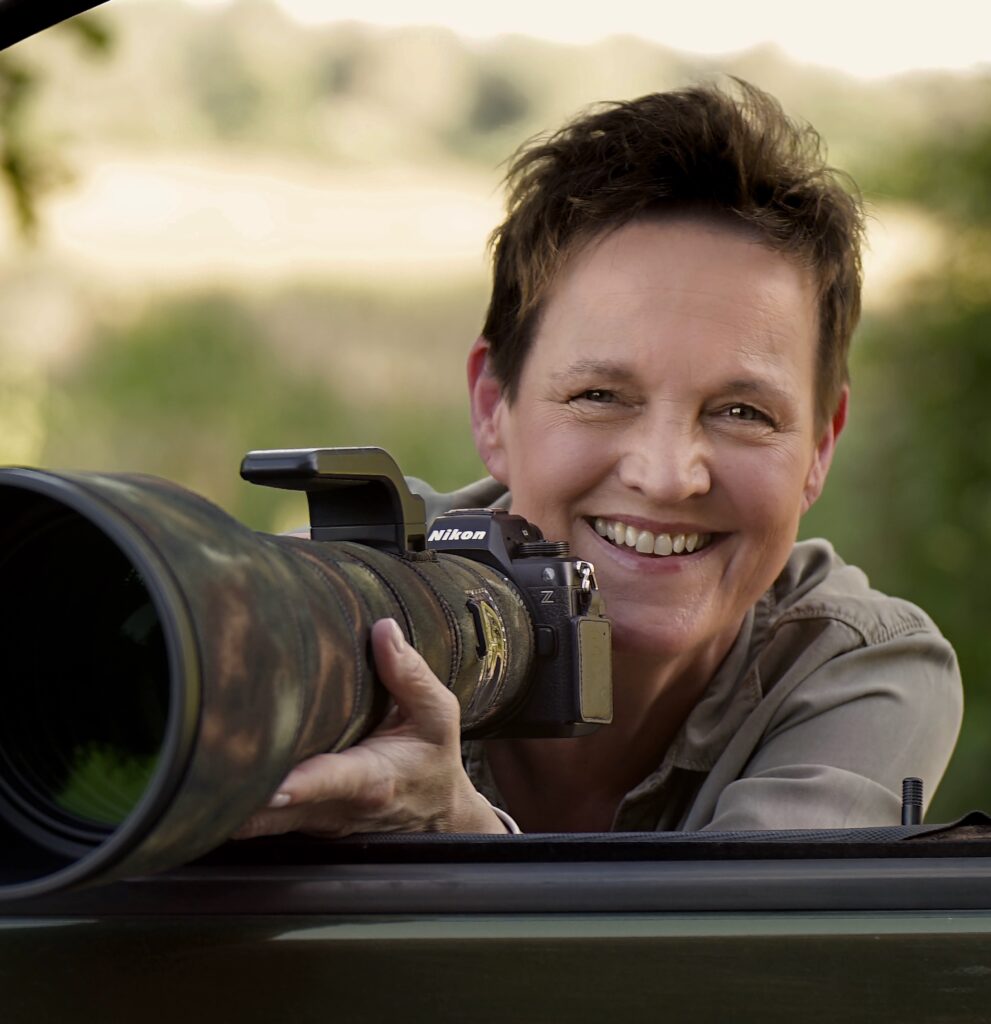
I personally accompany every photo safari, whether it’s a small group or a private safari. We go out looking for wildlife, follow the light, and stay ready for whatever turns up on the path ahead of us. The photos I want you to take home are the ones that show what the moment was actually like.
Heike Hutmacher
More Insights and Nice to Knows